Showing posts with label creative. Show all posts

Friday, March 8, 2013

Fun, Rainy Day Project with Your Kids

Today, we got out the Crayola clay and some food coloring. We squirted some food coloring onto the clay and then "kneaded" it until the color was all over the clay. Then I gave the kids some different things to put on their creations! This was a great activity today. The kids experimented with making colors and just being creative! Great rainy day project! The food coloring did "stain" their hands a little so if that would bother you or your child, you could always have them wear some gloves or wrap the clay in plastic wrap while they are "kneading" it.

Have the kids work with a cookie sheet so you don't get the mess on the table.


These are great little creations that will dry with time!

Monday, December 3, 2012

7 Year Old's "Painting" Birthday Party Ideas

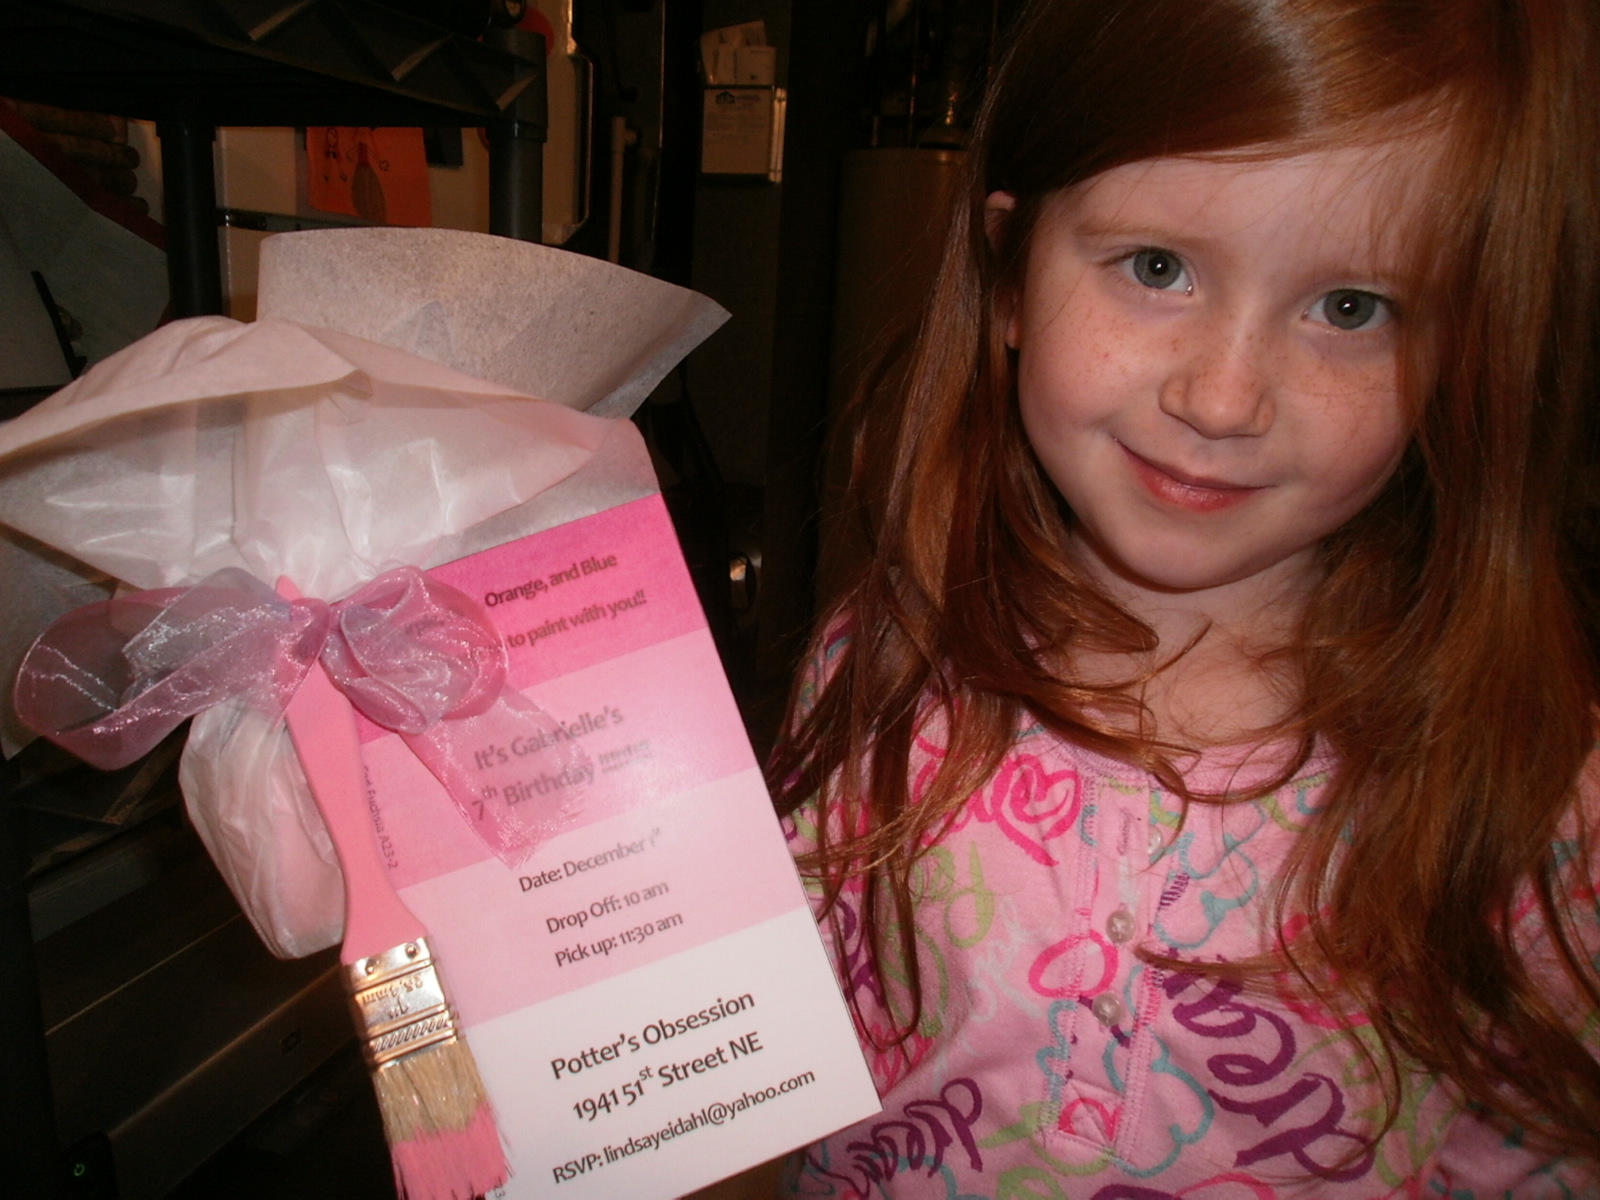
My daughter is turning 7 at the end of this month. She is such a "crafty" little girl and loves anything that has to do with being creative. So, we are going to have her party at our local pottery store. The kids can paint a piece of clay and then they will get fired. For her invitation, we had to come up with something "creative" so we saw a picture online and came up with this:

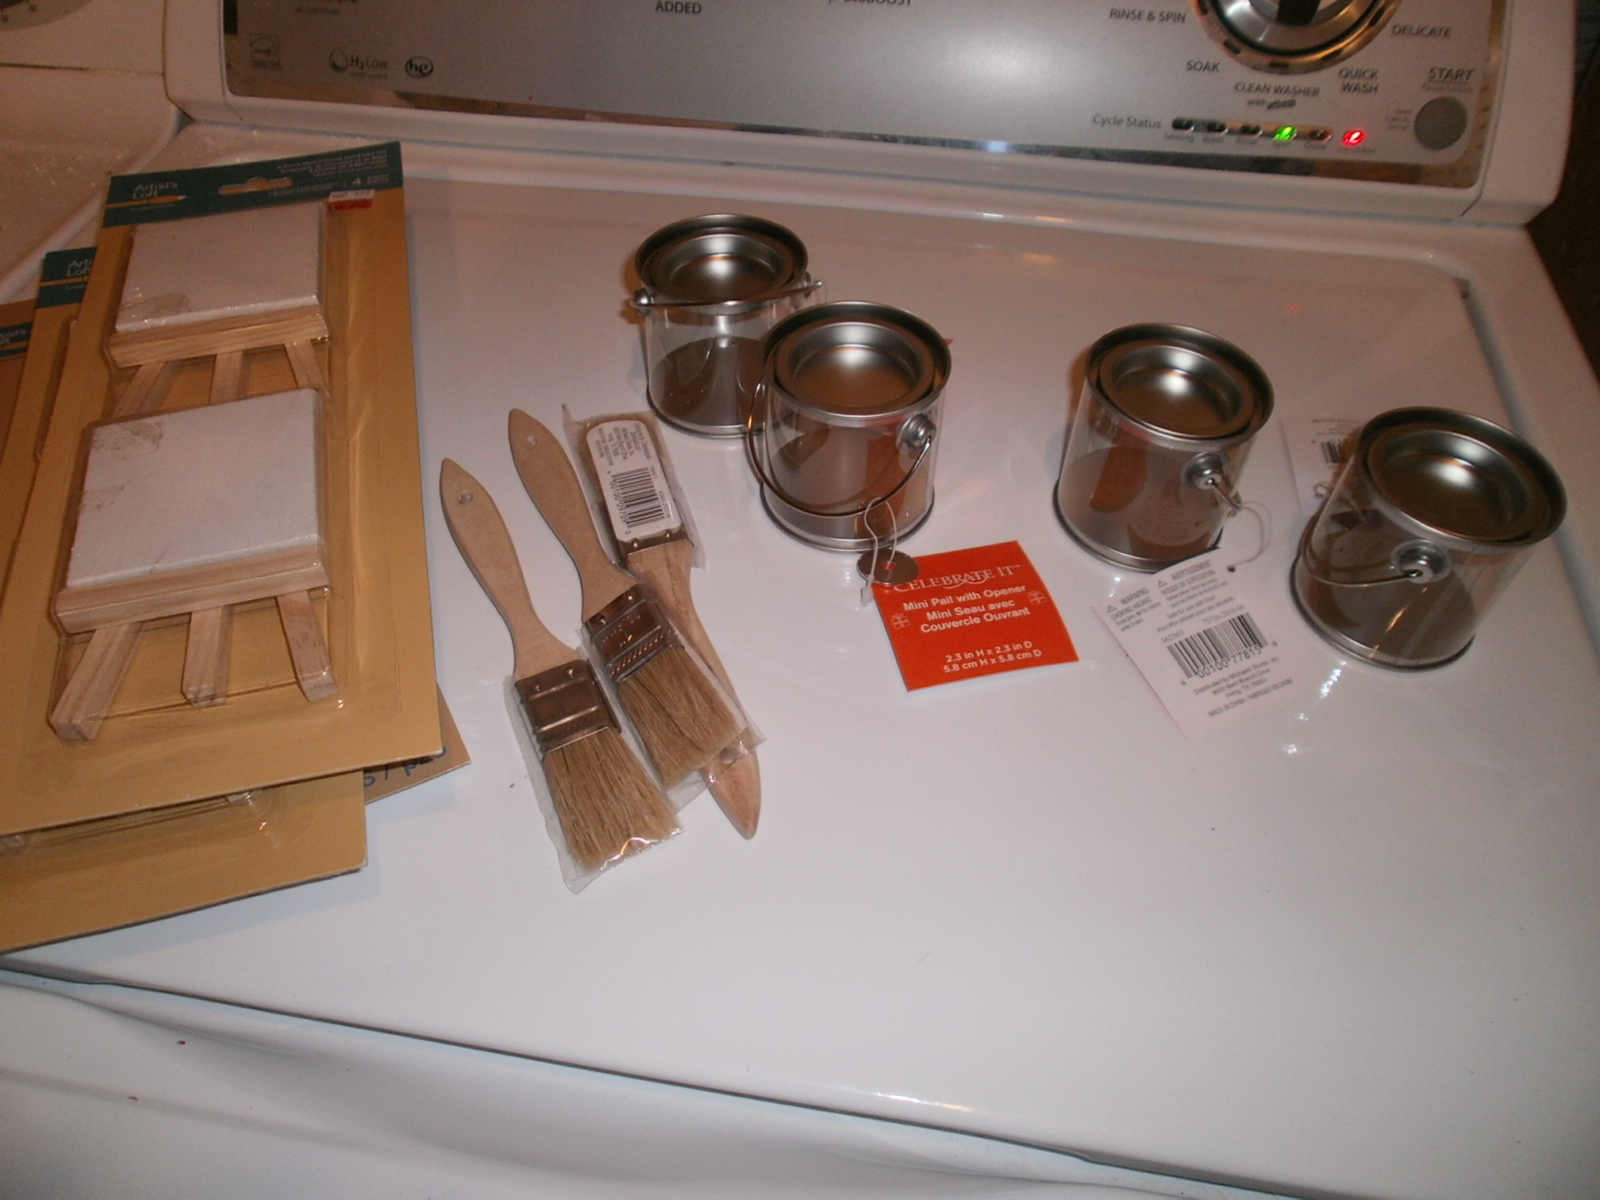
We went to Michaels and found the paint cans, brushes and easels.

The easels were a clearance score! I thought they would be cute place cards on the table with the girls' names on them.

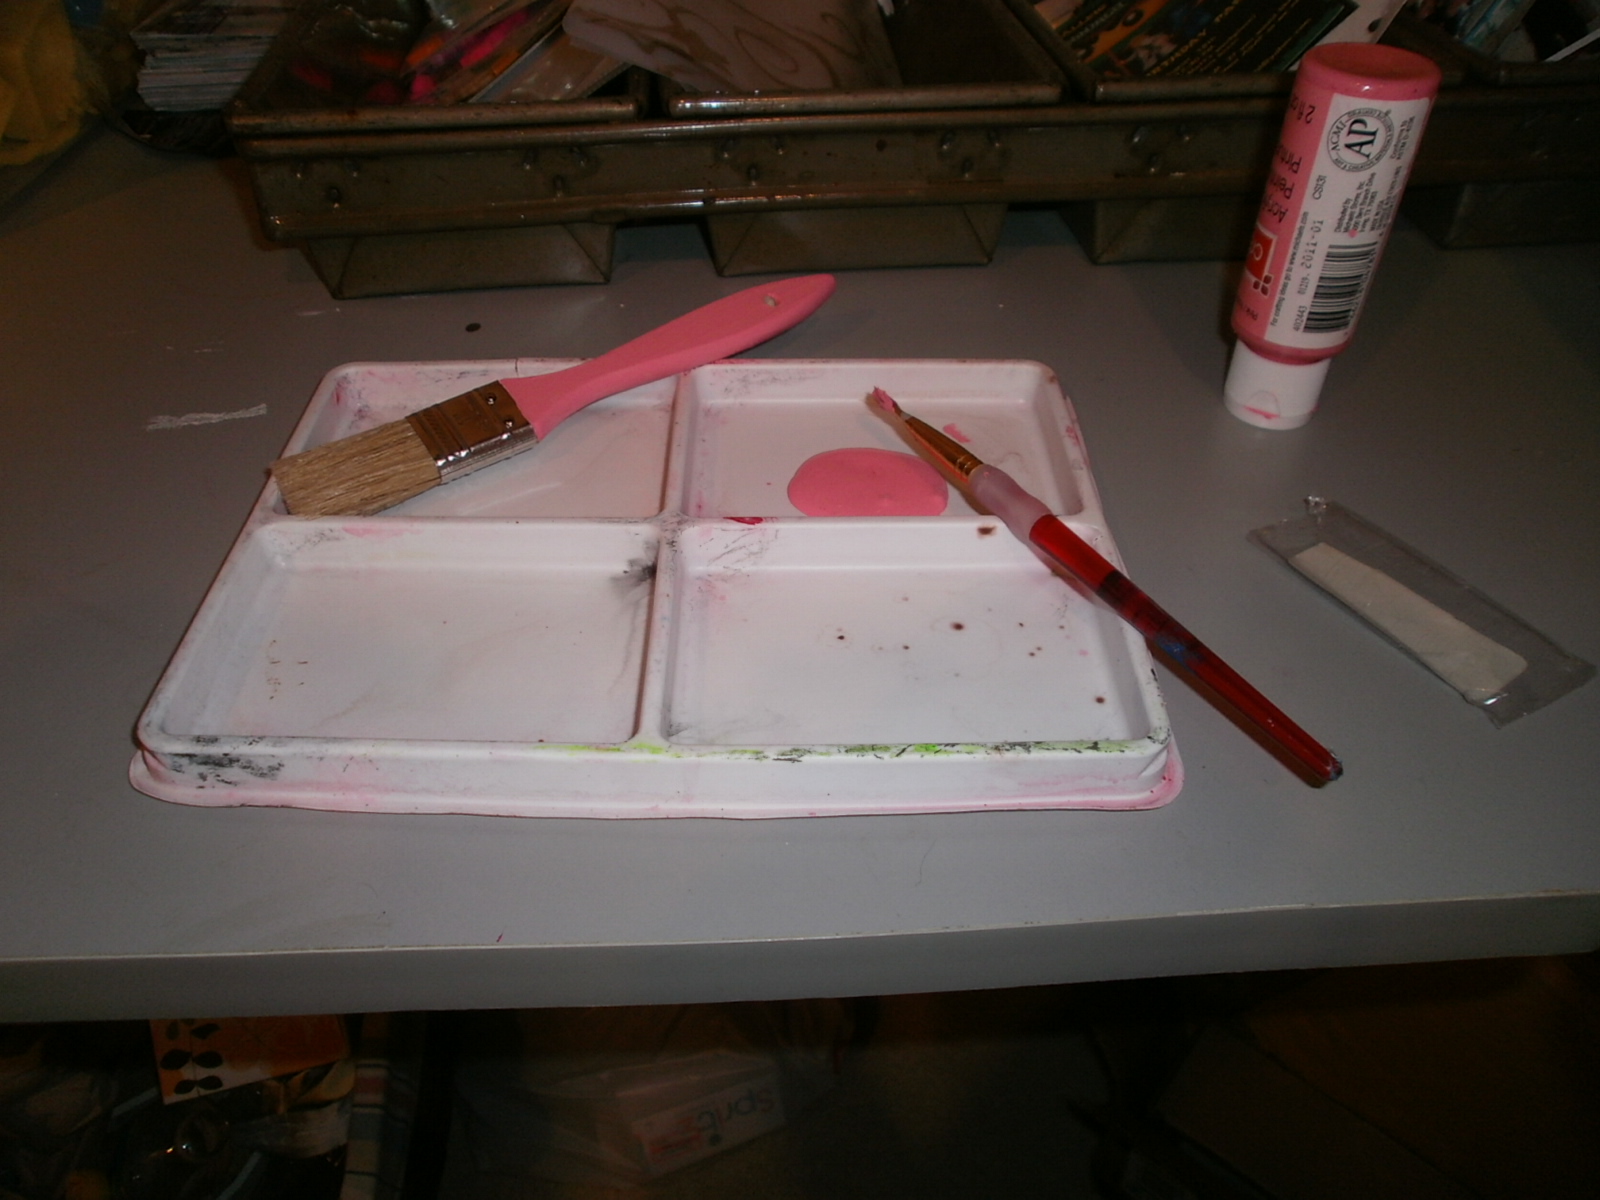
We painted the wood paint brushes pink.

We dipped the ends of the paint brushes in the paint as well and let them dry.
My husband printed off these invites which look like paint swatches! It has the details of the party typed in each color. They read: "Purple, pink, orange and blue. Gabrielle wants to paint with you! It's Gabrielle's 7th birthday!" Then date, time, location, etc.


I added pink paper to the inside of each paint can.
We added M&M's to the paint can and then wrapped it up in tissue paper. We tied them up with a ribbon and added the brush and paint swatch to the outside! Cute!


Instead of a cake, I saw an idea once for cupcakes being paints. So, I had my husband cut out a painter's "pallet" out of wood and I painted it brown.


I then just made cupcakes and frosted them different "paint colors" and set them around the pallet! I think it turned out cute and it was so easy. Very easy to transport to the pottery place too!


This is how the easels turned out. I painted their names on them and hot glued little plastic flowers on them. These acted as their place markers at the pottery place.

I planned this party for 1.5 hours. I didn't know how long the girls would paint and I didn't want a lot of "extra" time because they couldn't really play in the pottery place. The girls painted for almost the entire time. We handed out some snacks and then cupcakes towards the end and Gabrielle was still opening presents when parents arrived to pick up! All in all it was a successful party and one that Gabrielle was happy with!


Thursday, March 15, 2012

DIY - Creative Ways to Turn Your Drab Laundry Room into a Functional Craft Area


Our laundry room, was your typical, drab, dark laundry room. It was the only space that we had for a crafting/work area for me in the house. So, I decided I needed to transform the space to make it functional and fabulous! Like always, I didn't want to spend tons of money, so I knew I would have to come up with some creative ideas for storage and style. I also knew I wanted to brighten the place up. The first thing we did was paint all the brick walls and surrounding walls a bright white. This alone made the space so much more brighter! I knew I wanted open shelving so that I am able to see what I have. So, all my husband did was cut down some 1x8's to fit the length of the wall and hung them up. My parents had a corner desk that fit perfect down there and didn't take up too much space.


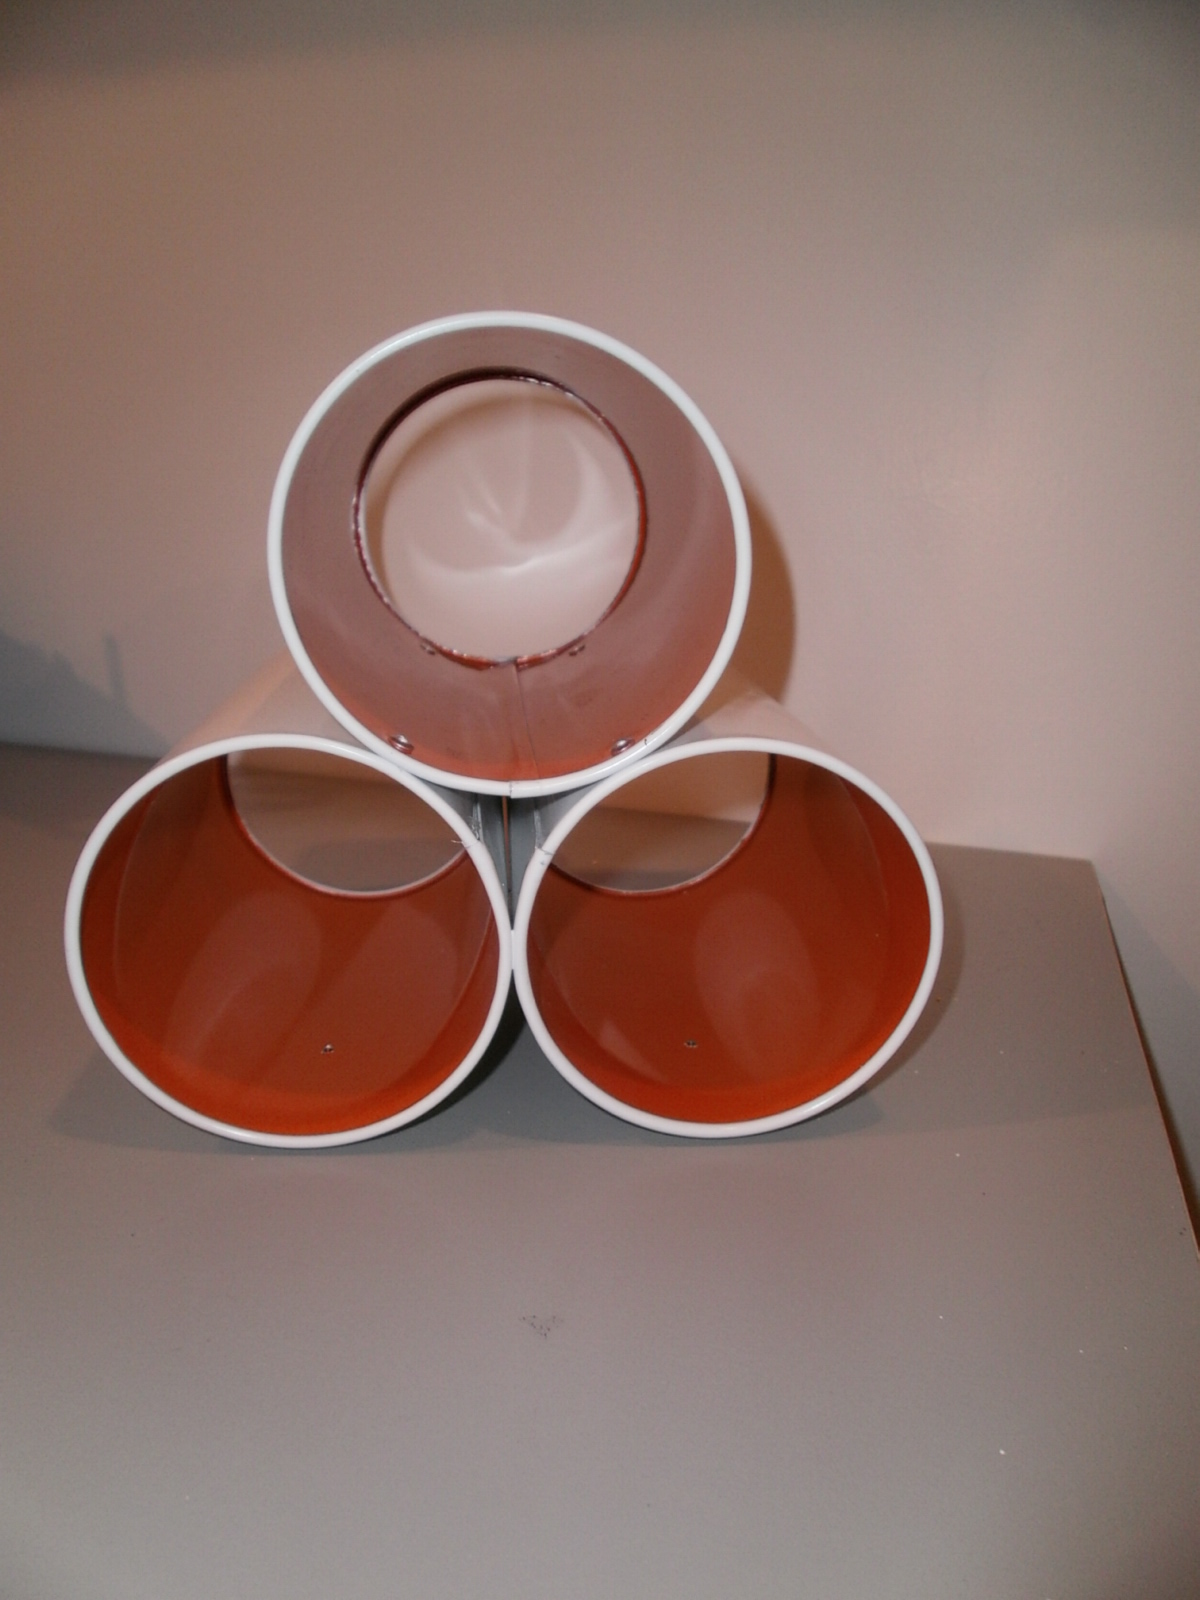
I wanted to find something that I could hang on the wall that would house all of my "utensils" (markers, scissors, pencils, etc). I found these wine holders on clearance at Target for about $3 each. I picked up 4 of them. I pictured them mounted on the wall instead of holding wine. I brought them home and my husband was able to screw them underneath the shelves he had put up for me.


I think they came out perfect!!!! All of my "utensils" fit in them and they aren't taking up space on the desk, which gives me even more room to spread out and be creative!!


Another thing I really wanted, was a place (that was out of the way) to house all my wrapping paper, contact paper and ribbon. My husband made this brilliant wall hanging (he saw something similar on Pinterest). He was able to use up some extra wood we had to make the frame and then we bought the wood dowels. I was thrilled when I saw this! I can now just pull out the ribbon I need, cut it and be done! I love all this stuff up and out of the way!


The finished space is so much more open, light and airy. There is more space for everything and I can see what I have. It has made a tremendous difference in that back room and I love it even more to know that we didn't spend a lot of money to do it. A little planning and creativity and I believe you can have most anything without breaking the bank!!!


Wednesday, January 25, 2012

My Daughter Has the Crafting Bug!! YAY!!!!


Gabrielle can spend hours on our art table. She loves to CREATE anything and everything! Her latest CREATION was a Valentine mailbox (made out of paper and recyclables). Let's just say we can go through tape and staples around here like crazy). Inside the mailbox, she had Valentines for me! How sweet and CREATIVE! She comes up with the best stuff! I will start blogging more of what she comes up with! It will inspire CREATIVITY in everyone!

Monday, December 19, 2011

DIY Scrabble Ornaments and Name Tags


I have been picking up Scrabble games at yards sales for awhile now. I thought the letters would make cute ornaments on a tree. I spelled out some Christmas words. The kids helped me with this and they loved it! It turned into a great spelling activity for them. I glued the letters on the wooden blocks. My husband then cut them to size. I hang them with ribbon (the last picture shows you what we use to hang the ornaments) on the trees.


I thought this would be a great idea for name tags as well! It is a name tag and an ornament in one! The recipient can hang their "name tag" on their tree after they open their gift.