 |
| Have the kids work with a cookie sheet so you don't get the mess on the table. |

 |
| These are great little creations that will dry with time! |
|
| Have the kids work with a cookie sheet so you don't get the mess on the table. |
|
| These are great little creations that will dry with time! |




 |
| It consisted of two "rooms" that were connected by a tunnel. |
 |
| She made a table and chairs out of paper and gave them some mini marshmallows and Lucky Charms to eat. |
 |
| The second room consisted of a bathroom and a bed. |

 |
| The strips of newspaper and the balloon. |
 |
| Blow up the balloon and then set it in something that will hold it up while you work (I used a box this time). |
 |
| Mix equal parts flour and water in a bowl. You want it a little thinner then pancake batter, but not too thin. |
 |
| Put the newspaper strips in the bowl and then run your fingers down the paper to get all the excess "glue" off the paper. |
 |
| Start putting the newspaper on the balloon. |
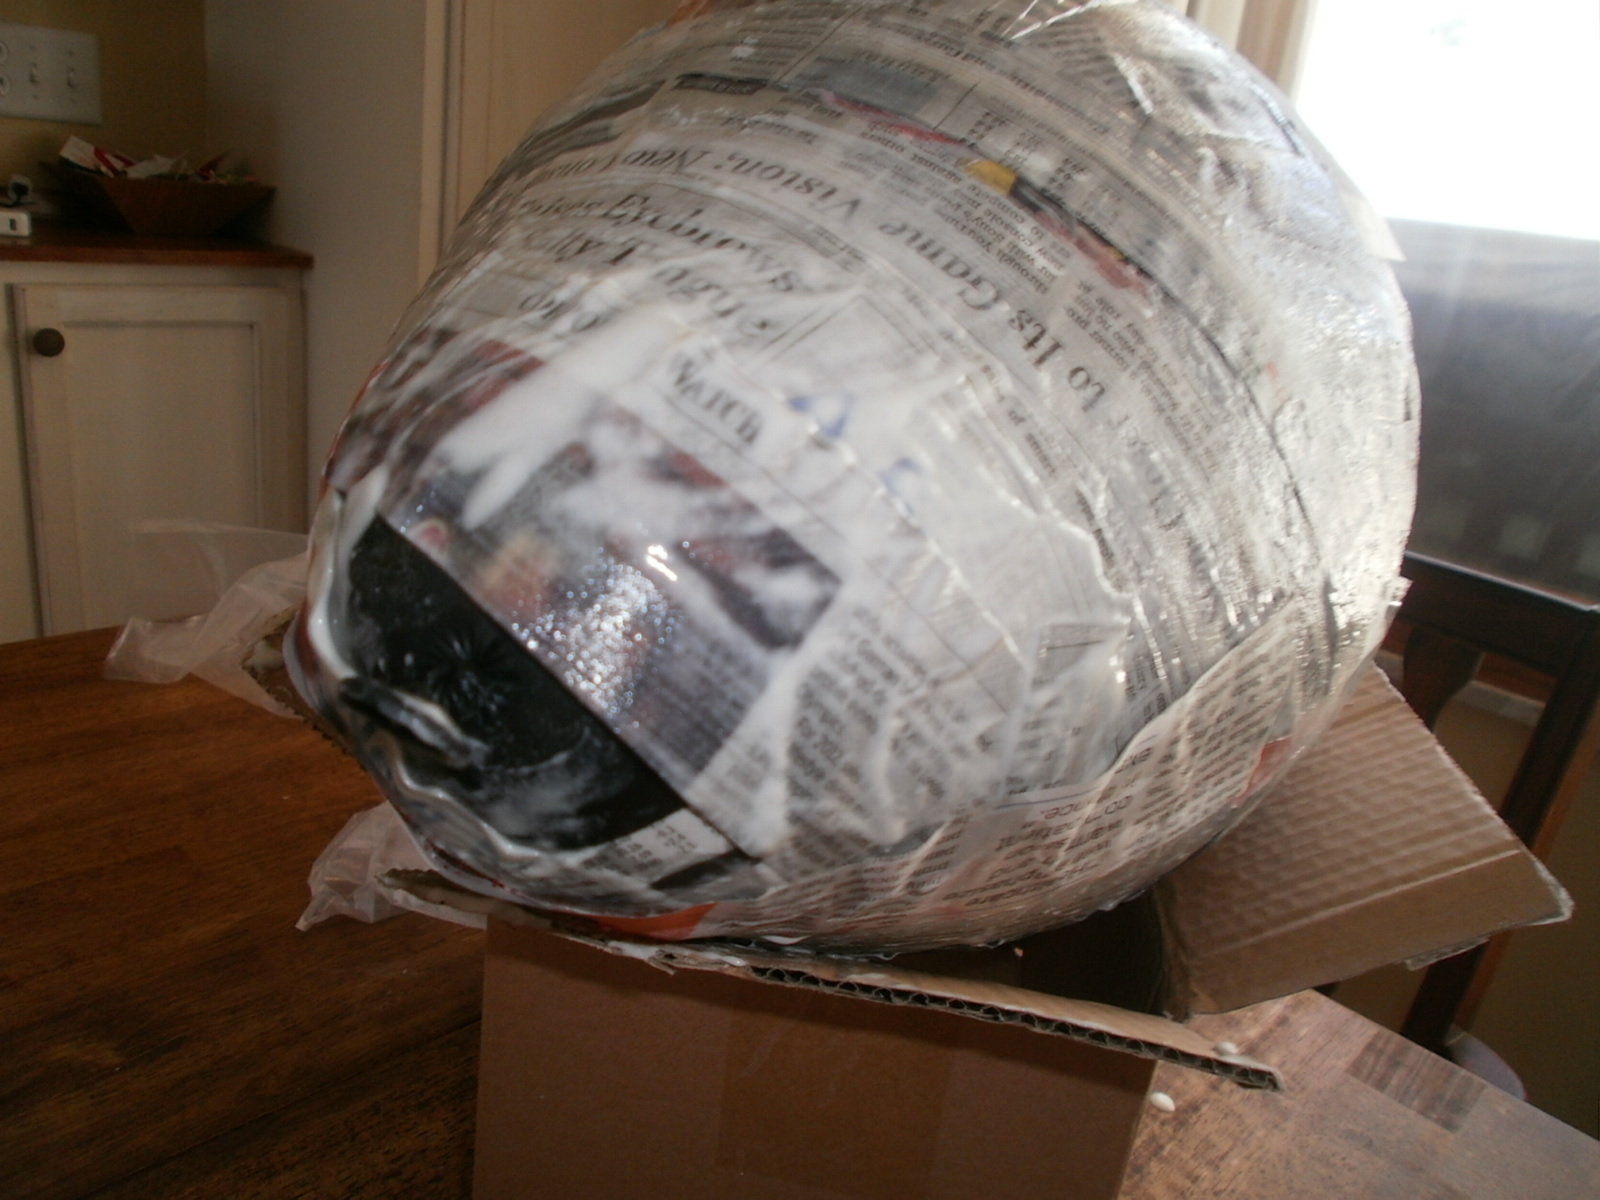 |
| Keep layering the paper until you have at least 4 layers. The more layers you have the stronger it will hold up. Make sure you leave some space around the tie of the balloon that is not covered with paper (this is where you will add candy and also cut the balloon when it is all dry). |
 |
| It is a messy project! ;0) |
 |
| My balloon is covered with many layers so now it is time to let it dry |
 | ||
| I hang up the balloon (by the end where it is tied shut) with a clothes pin. I just hung it from the basketball hoop my husband put up in our back room. It will take a few days to dry completely.
|
 |
| I painted a piece of heavy cardboard paper black on both sides (I will cut this up and use for the spiders legs). |
 |
| I cut the painted cardboard into 8 strips (legs). |
 |
| I took a tack and push a hole into the part of the pinata that I want to hang it by. I strung some fishing line into the "body" of the pinata. |
 |
| If you hold the pinata up, the fishing string will fall and come down so you can easily grab it (thanks to hubby for helping me show this process and take pictures). |
 |
| Now, I took three Popsicle sticks and tied the fishing string (the end that will be inside the pinata) to them. |
 |
| I then add packaging tape to it to make sure it holds well. Then just let this go into the "body" of the pinata. The other end of the string is how you will hang it at the party. |
 |
| For the legs, I bent one end which is where I will hot glue them to the pinata. |
 |
| I bent the "leg strips" to make them look more like spider legs. |
 |
| This is how I glued the legs to the body. |
 |
| For the eyes, I just cut this shapre from white card stock and then colored in eyeballs with a black marker. |
 |
| After I filled the pinata with candy, I covered the hole (butt of the spider) with black duct tape. I would recommend using lighter candy pieces and toys. Also, keep lifting up the pinata as you are adding candy to see how heavy it is. |
 |
| Here is Mr. Spider all finished! I think he came out pretty cool and the kids will love him! I was thinking that if this was more geared for a girl, it would be cute to add a bow to the spider's head. I know this is a long process, but I think it is worth it. It saves you a lot of money and you can customize a pinata for any party! I would love to hear your thoughts!!! |


 |
| I have a bag of these foam leaves that we used for this project. |
 |
| I cut the leaves like a puzzle and then had the kids use bingo markers to put dots on one side of the leaf. |
 |
| On the other side of the leaf, I wrote the corresponding number. |
 |
| The kids would count the dots and then have to find the correct number to put the puzzle leaves together! |
 |
| We did it! We got all our leaves back together!!! |


