Showing posts with label projects. Show all posts

Thursday, March 21, 2013

I Love My Cricut!!!

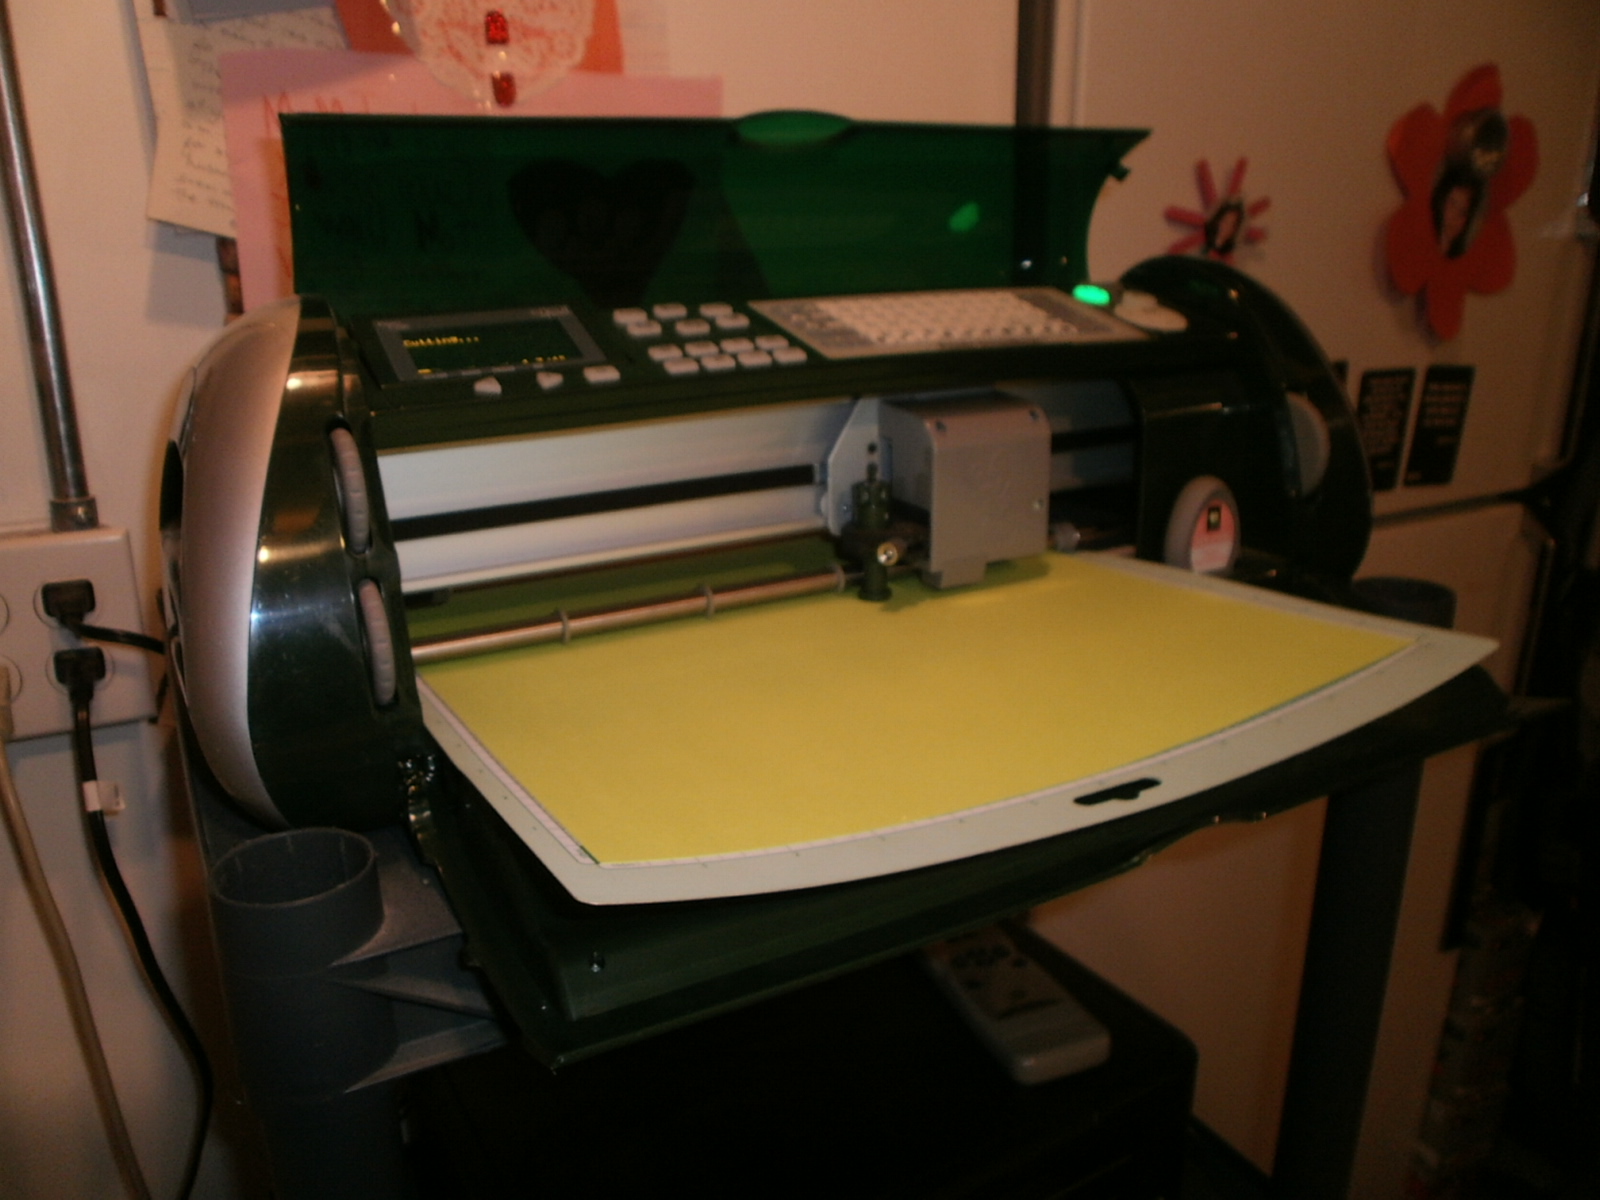
For anyone out there that likes DIY projects, crafts, scrapbooking, stencils, decorating, etc., you need a CRICUT!!! I love mine so much. It makes being creative so much fun!


The Cricut made it so easy to put this saying on our wall!
The Cricut makes projects a lot more easy! 

My Cricut in action!


I would love to see what you have created with your Cricut!


Monday, September 3, 2012

My New Projects - Furniture Face Lifts!


Here are a few pieces that have been waiting for me to bring them to life! Now that the school year is starting, I will have some time to work on these. I am really excited!
I bought this table for $1 at a yard sale. The bottom shelf was broken, but my husband just fixed it by putting a piece right across the bottom of the shelf. The weathered, red look is pretty cute, but I think I want to try something else. I started on the top of it, but am still working on it. I will take final pictures when I am done.


I bought this piece from an antique place that saved some of its stuff from a flood. It was $20. It was all painted white. I have removed the hardware and started painting it a brown color (of course I forgot to take a before picture). I love all the drawers in this. Ample storage piece!!!

I bought this for $10 from my neighbor who is moving out of state. I have not touched it at all yet and remembered to take the before picture! YEAH! I would really like to put a chevron pattern on the front of this so we will see!

Here are the outcomes of these furniture face lifts!


For the small table, I used some mismatched paint I got at Menards for 50 cents. It was a mustard yellow which I didn't like so I took some dark brown (more mismatched paint) and dry brushed that over the edges and all over it. I love the way it looks now!
 
For the eight drawer chest, I painted it a robin's egg blue and took that same dark brown paint and dry brushed this one. This one came out looking more "old" then the yellow one which looked more like a paint technique.
 
For the three drawer chest, I painted it the robin's egg blue and then I sanded the entire thing to make it look old and worn. I am so happy with how all of these came out! They will make someones space look extra special!
 

Wednesday, May 23, 2012

Yarn Art - Great Project for Older Kids!

We started with a foam board. We put glue on the bottom and used green yarn to make the grass.

Closer look at the grass.

We then added some green stems.

I thought it would be easiest to make circular flowers, but the kids wanted to draw some that they would then "fill" with yarn. She was drawing a tulip for this one.

Here she drew the circular shape, but added some petals.

This was one of her finished flowers.

We started with the circular pattern on the inside.

She loved the look of it that she decided to cover the rest of the it with a different color in the circular pattern. Trying to do the petals and the tulip turned out to be pretty hard for their little fingers.


I took a picture of the final board, but I must have erased it. It turned out really cool. She had at least six flowers on it! I thought this would be fun to do for adults too! You could make some pretty amazing artwork!!!!! The possibilites would only be limited to how much yarn you had. Happy yarn crafting!

Monday, September 19, 2011

The Basics of Making a Homemade Pinata

Making a homemade pinata is easy, fun and cheap and you can make exactly what you want!!!!


Supplies Needed:


  • Newspaper (cut into 2" wide strips)

  • Flour

  • Water

  • Balloon

  • Fishing line

  • Goodies to fill the pinata

  • Packaging tape

What to do:


  • Cover your work surface with plastic or newspapers - it is going to get messy!!!

  • To make the "glue" for the pinata, mix flour and water together in a bowl until you get a glue/paste consistency. The amount you need depends on the size of balloon you are covering.

  • Blow up your balloon and tie it.

  • Now, take your newspaper strips and dip them in the "glue". You want the entire piece covered in "glue". You will wipe off any excess glue with your fingers, but you want the entire paper wet with glue. Lay the strip on the balloon as flat as you can get it. You will keep doing this until the entire balloon is covered with the newspaper. *Leave a portion of the balloon uncovered by the tie - this is where you will fill your pinata. Once you get your first layer on, continue to add more strips until you have at least three layers on. This will make it that much stronger and sturdier when it comes time to fill it and hang it.

  • Once you have the three layers on, let it dry. I hang mine from the laundry line I have in the basement by clipping a clothespin to the tie of the balloon (so it is hanging upside down) onto the laundry line. The drying process can take a couple days because your balloon should be pretty saturated with the glue.

  • Once it is dry, pop your balloon with a pin. The balloon will shrink up inside the cavity of the pinata and you can get it out easily. Now, you can paint it, cover it with crepe paper, Modge Podge it, etc. to make it whatever you want it to be! Once it is painted, use a pin to punch two holes on the top and use fishing line through each hole and this is what you will use to hang it up with. Now, you are ready to fill the pinata with all your goodies! I use packaging tape to cover the hole on the bottom.

This post was just for "pinata basics". I have made many pinatas over the years - from Mammoths to ghosts. It is a lot of fun! Get your hands messy and see what you can come up with! Good luck!

DIY Halloween Decorations


My husband and I were out shopping this past weekend. We went into a greeting card store to look at their Halloween decorations they had for sale. I loved this "Boo" sign made up of three separate wood blocks! I checked the price and about died when I saw they were asking $30 for it! I told my husband that I would make my own the next day.


My husband cut pieces of wood (that we had left over from another project) at different heights. I painted each piece black and used a stencil for the letters (you could hand write it too). I used a white paint marker to paint the letters on. This is how my sign turned out! It is as cute as the one in the store, loads cheaper and more meaningful because we made it! The possibilities with this project are endless! You can do it for any holiday and use any words you want!

Monday, May 9, 2011

"Handmade" Mother's Day Gift


I came up with the cutest idea for a "handmade" Mother's Day gift that moms can use and/or keep as a keepsake.


I bought different colored fabric paints and I got white dish towels at Target on clearance. I had each child pick out a color and then I painted their hand and put it on the towel. I then added a stem and flower pot. I did one towel for each child. You could also do one entire family on a towel and have a pot full of flowers!

Tuesday, November 2, 2010

Witches Hat Project


My 4 year old daughter and I were home one October morning and she wanted to do a project, but I didn't have anything planned so I decided to take a look through the recycling bin and see what we could come up with. I had some really thin cardboard-like paper in there so we put it to use. With the first piece of paper, I rolled it to make a cone and then had her paint that black. Next, I cut a ring out of the other one to fit the base of the cone. I had her paint the ring black as well. When they were dry, I set the cone inside the ring and piped some hot glue to hold them together. On top of the hot glue, I wrapped pipe cleaners around it so it kind of "disguised" the seam. We went through our foam stickers and we found some ones that would look perfect on the witches hat. It turned out so cute. She was really proud of it. She wanted to wear it, but it wasn't big enough so when we make one again next year, I will be sure to make it big enough to fit her head. We used the witch hat as a centerpiece at our Halloween party and I also used it for one of the games. I made rings out of pipe cleaners and the kids had to try and throw the ring on to the cone of the hat! They loved it! Our "spur of the moment" project turned out to be one of the better ones we have ever done! Cheap too! : )