Showing posts with label paint. Show all posts

Thursday, March 21, 2013

Another Cabinet Flip!

Before........


After! I love it!!!!! I painted it robin egg blue and sanded it all around to distress it. My husband added the hardware that we got at a yard sale in a free box!!!!!


DIY Canvas Art


I have seen some really cool canvas art in stores and thought I could do something similar myself. I have also seen some cool ones on Pinterest and posted them on my Pinterest boards and some of my favorites are found here. I went out to hunt some local thrift stores to find some canvas (because buying a canvas at a craft store is SO EXPENSIVE!) and this is what I found:
Cute, but not what I am going for.


I painted over the picture with a blue/green paint.


I then added a word and some branches and a little birdie! Cute!

Thursday, February 28, 2013

St. Patty's Day "Magic" Project for the Kids!

This is a real easy one to do and it will teach the kids that by mixing colors, you can come up with new colors (good primary color lesson)!

Have your child cut out a shamrock shape that you have given them (or do it for them if they are too little). Then, put some yellow paint and some blue paint on the shamrock. Give your child a paintbrush and tell them to mx the colors together! The kids will love this! It is like a magic trick! A new color will appear and the other two colors they started with will disappear! AMAZING!

Monday, February 4, 2013

Valentines Craft for the Kiddos

Good ol' fashioned painting with the cookie cutters. This is a simple craft that all kids enjoy! The younger kids love to spread the paint all around the paper and the older kids get more into making pictures and so forth with the cutters. We took out all the Valentine cookie cutters I had and I put some paint on Styrofoam plates and we dipped and painted!
 
They made perfect little Valentine pictures!

Happy Valentine's Crafting!

Monday, December 3, 2012

DIY Cabinet Redo -

I got my "pink" cabinet that I posted about earlier done! I went ahead and painted over it with Dutch Boy Navajo Turquoise paint. I then went over the whole thing with the brown paint to make it look aged. I do this basically with a dry brush. I dip the very tip of my paint bush in the paint and then I really dab it off on a paper towel. I then apply it to the edges and kind of all around. If I get too much on there, I take the paper towel and wipe it off. It is really fool-proof and I love the outcome!!! If you saw this piece in my previous post it was pink and it also had a hideous silver knob on the drawer. We had this OLD door knob in the garage and my husband was able to make it work for the drawer knob! I use it in my porch to house all our blankets!!!!

Easy Santa Ornament Craft for Kids


I bought clear glass ornaments because the ideas and crafts you can do with them is ENDLESS! For this craft, I took the hanger off the top of the ornament and had the kids fill it with white beads (this would be Santa's beard).  Then, I had them roll a small, square piece of red felt and we glued it so it would hold together (this is his hat). Then, I had them glue a white pom pom on the top of the hat. We glued googly eyes on the face and then I added the mouth, nose and rosy cheeks! Add a hook on the top (or a bent paper clip) and you have a cute ornament for the tree!

HO! HO! HO!
Merry Christmas!

Monday, September 10, 2012

Cute, Easy, Fall Craft For Kids!!!!!

This was a great little acorn craft we did today. I cut an acorn shape out of some thin cardboard. Then, I had the kids crumple up little pieces of brown packaging paper (stuff left over from a package that came in the mail). They glued the crumpled paper onto the top of the acorn and then painted the bottom half brown. We taped a stem on the top and viola..... an acorn!

Tuesday, September 4, 2012

Fun Recycling Apple Project for Kids

Have you ever received a box in the mail that is full of brown packaging paper? Well, here is a great little project to do with your kids that uses some of that paper!
I cut two pieces about the same size.

The kids crumpled up one of the pieces and we put it in the middle of the other one.

We gathered the flat paper around the crumpled ball and tied it with a rubber band.

The kids painted the "apple" red.


Add a green felt leaf with their name and you have a cute handmade apple!

Monday, September 3, 2012

Upcycled Old Lockers

I got this pair of old lockers at a yard sale for free. The owner said he was just going to take them to the dump. I didn't know if I should take them because I thought they looked pretty rough. My husband was with me and he was the one that convinced me to get them. He said since they are free, let's try and keep them out of the landfill and fix them up! I am so glad he did. I think they came out really nice. He was able to take the rusted bottoms off and rebuild some nice wood ones instead. They still have that "old" feel to them, but with all the sanding and priming, they really came out great!


Friday, July 20, 2012

My Toadstool/Mushroom Garden is Complete!!!

I finally found some more wood bowls to complete my toadstool garden! I found a set of salad bowls (one big and 4 small bowls) at a yard sale for $3!!! I brought them home and painted them different colors. I added the white spots and then polyurethaned them. My husband cut down limbs from dead trees to use as the bases! I love how they look in this spot behind our porch (it has been pretty bare since we built it). My husband bought a bunch of plants on clearance and planted them here as well. Next year, it will be fun to see how this all grows and turns out!


Wednesday, July 4, 2012

Old Garage Door and Some $1 Finds, Makes Cute Lemonade Stand!

This post gives new meaning to the saying, "If you have lemons, make lemonade!" 


Got an old door you aren't using?? Make a lemonade stand!!!


I took my "message center" that I made with my old garage door (previous posting) and thought it would make a great base for a lemonade stand!!! My husband did all the "labor" just by using what wood we had in the garage.  


The blue window covering I found at a yard sale for $1!!! I also found the chalkboard for $1. I painted the whole thing yellow (it was miss matched paint at our local Menards for $1!!!)


We were using this at our yard sale and so many people loved it and wanted to buy it, but my friend came to the sale early and really wanted it so I sold it to her. Again..... I just love what you can do with things that would otherwise be thrown out!!!! 

Tuesday, May 29, 2012

Rescued Chairs Make Perfect Planters For Yard!


My dad knows that I L-O-V-E refinishing and repurposing old furniture. So, when he saw these four chairs sitting by the curb to be thrown out, he snatched them up for me! 


I spray painted the chairs some fun colors.
 

I removed the seats entirely.


I added some pots that I planted plants in.

These chairs have added a lot of character to our yard!

Wednesday, May 23, 2012

Upcycle - Old Garage Door into Message Center


This was our old door off of our garage. There was a window on the top of it (of course I forgot to take a picture of it before my husband cut it in half). He cut the window part of the door off, which left the bottom part (with those fabulous panels!!!). I also had him even out the very bottom of the door so it matched the top part that he cut off. The panels on the door are what got me excited about this old door!!! I saw this bottom half as a message board! I cleaned the door and painted the entire thing a fun, spring green color. I painted each panel with chalkboard paint. I would like to add some hooks to it for keys and/or purses, etc. I think this would be so cute in any mudroom/entryway/kitchen. I will post a final picture once I am totally done with it, but it is fun to see what can be done with things that were going to just be trashed!


Fun May Day Basket or Gift for Any Occassion

I painted this wooden tool box a fun green color and then stenciled the letters on the front. I wrapped the handle with some yarn I had.

I filled it with some May Day goodies for my sister and her family (her Scrabble coasters that I blogged about before fit too!). It was a cheap, easy and homemade take on a May Day basket! I wish I had more tool boxes to use for more gift giving.

Monday, May 21, 2012

Redecorating Son's Bedroom

It has come the time to redo Landen's bedroom (or at least, I wanted another excuse to redecorate and have another project going on at the house). My dad built him his loft bed when he was four and Landen has outgrown it (and a friend of a friend has been begging me to sell his loft bed so her son can have it........ so that also helped push this project along).
This is the loft bed my dad made for Landen when he was four.

This is a before picture of his room as we were taking apart the loft bed.

Another before picture looking at the closet.

Before picture (we were able to save this dresser and put it in the closet for more space).

I chose a pale gray/blue color for his room to lighten is up a little bit.

We reconfigured his closet and built shoe cubbies on the right hand side and put his dresser in their as well. I painted it a darker blue and then painted a star on the front of it using the color of the walls.

I was going to have open cubbies as the base of his bed, but since we were able to keep his dresser, I decided against it. I knew he was going to have enough storage space. My dad built this bed for him and then we bought stock cabinets (that have four drawers each) to fit on each end of the bed.

This is how the closet turned out. He has plenty of storage for hanging clothes and also has space for his shoes where he can see them. The dresser fits right in there for all his folded clothes. He also gained eight drawers with the cabinets on the sides of his new bed.


I stained all the wood a dark color. I love how it turned out. He has plenty of storage in there. I still need to find a curtain and also a rug for his room. I also want to change out his bedspread, but that might take awhile so I wanted to get this post out sooner than later. I will try and post more pictures to this post when we get it totally done.

This picture gives a better light. I think I am going to repurpose this old ladder in his room to hang coats on. I want to add some hooks to it and then he can hang things on it.


This room was pretty easy to do and we didn't spend tons of money. I hope this gives you some ideas for your little one's room! Keep me posted and let me know how your decorating journey is going!

Tuesday, May 1, 2012

Easy May Day Preschool Project

April Showers Bring May Flowers


This was a simple project I did with the kids. I cut out an umbrella shape from some left over scrapbook paper (the kids that can cut on their own, did) and they glued it to a piece of paper. Then, they dipped their thumb into blue paint to make rain drops on the umbrella. On another piece of paper, I painted their hand prints and added green stems. On the bottom of the papers, I wrote: April showers, bring May flowers. I stapled the two pages together like a book. Cute project for May Day!


Tuesday, April 3, 2012

Fun Easter Project for Toddlers and Preschoolers

I found this great little Easter idea on Pinterest the other day. You can check it out here:
http://pinterest.com/pin/184647653442312263/

How to paint hands to make bunny


When I was trying to do it with the kids here, I found an easy way to get two ears and the bunny's body. I painted the child's palm and then the middle two fingers. This came out great on the paper! I just painted their thumbs yellow to make thumbprint chicks. When they were all dry, I added the detail with a black permanent marker! It would be great for an Easter card or to frame as a keepsake!

Painted Thumb to Make Chicks


Masterpiece!


Sunday, January 29, 2012

Step by Step - DIY Pillow - Cute and Cozy!~


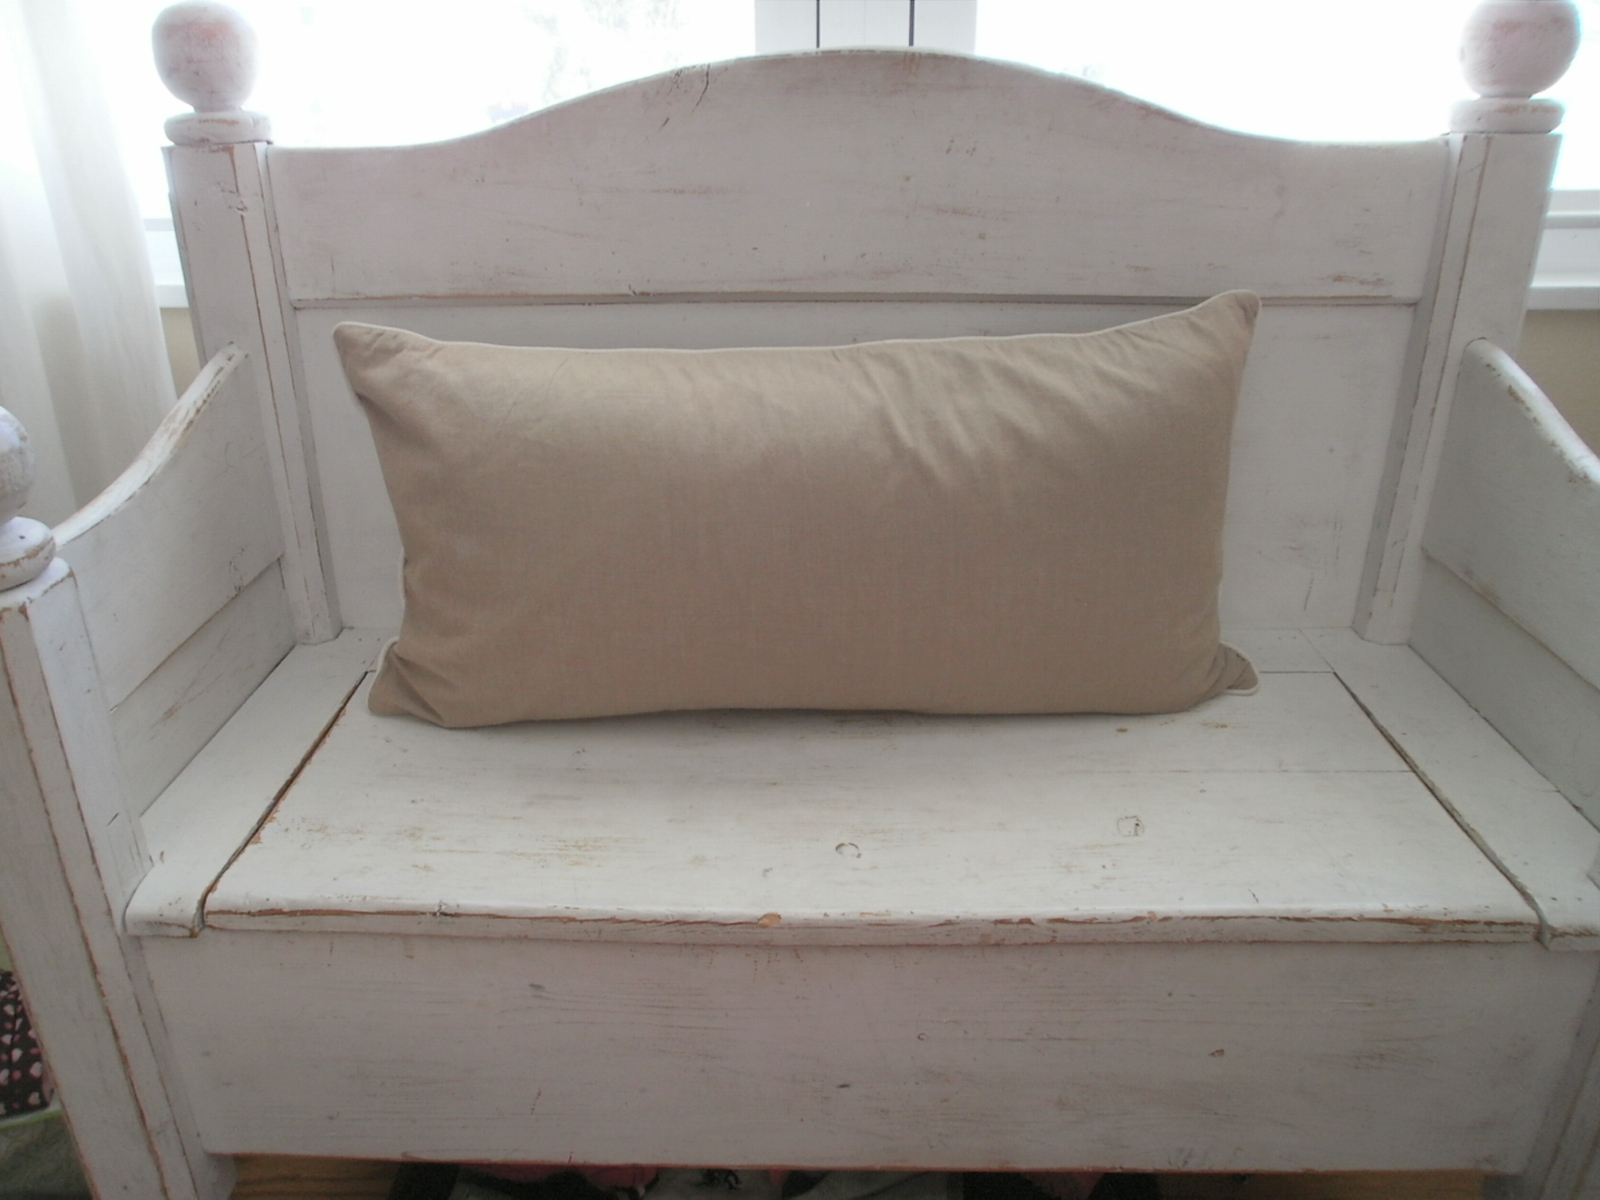
This was a simple project and it made a drastic change! I love it. All I did was take a plain pillow that was on our white bench, took the cover off and then ironed it. I used my Cricut to cut out the letters I needed (they were 10" tall for this pillow). I put scrap paper inside the cover so the paint didn't bleed through. I then used a pencil to trace around the letters onto a pillow. I used black craft paint for this paint (I didn't want to buy anything else). I just added water to it to thin it out. I then just painted the letters in. I let it dry over night. It turned out really cute! I love it. I can't wait to find some more pillows to do more of this around the house. I have ideas for a lot of the rooms!