Tuesday, April 3, 2012

Easy Easter Painting Project for Toddlers

I had the kids paint a piece of white cardstock with a couple of pastel colors.
When it dried, I cut out an egg shape (older kids would be able to do this themselves). Instant Easter decoration!

Easy Easter Busy Book for Toddlers/Preschoolers

Work on colors: Cut out squares from cardstock. Have colored egg shapes cut out for child.
Have child glue an egg to each square piece of cardstock.
Finished egg pages.
Work on numbers: Have child put Easter stickers on square sheets of cardstock and write the number on bottom of page.
I put all pages together and put a hole punch in the top left corner. I then put a key ring through it all which makes it easy for the kids to flip the pages, but it also leaves the option to add too the booklet depending on what the child is working on (letters, animals, simple math, etc.) I thought these booklets would be perfect to take to church on Easter to help keep the kids calm and occupied. Happy Easter! 

Fun Easter Project for Toddlers and Preschoolers

I found this great little Easter idea on Pinterest the other day. You can check it out here:
http://pinterest.com/pin/184647653442312263/

How to paint hands to make bunny


When I was trying to do it with the kids here, I found an easy way to get two ears and the bunny's body. I painted the child's palm and then the middle two fingers. This came out great on the paper! I just painted their thumbs yellow to make thumbprint chicks. When they were all dry, I added the detail with a black permanent marker! It would be great for an Easter card or to frame as a keepsake!

Painted Thumb to Make Chicks


Masterpiece!


Thursday, March 29, 2012

Mouth Snack - Fun and Easy!


The kids loved these easy and healthy snacks. They are very easy to make too! Cut up an apple with an apple slicer. Add marshmallows between two slices of apple and then I added a toothpick to keep it together. Great snack for a dentist theme, health theme, teeth theme, etc.

Sunday, March 18, 2012

DIY - Turn Plant Stand into Scrabble Wall Tiles


I found this plant stand on the side of the road. I picked it up because I instantly saw the wood shelves as Scrabble wall tiles. It took me awhile to figure out a four letter word to use, but when the word NEST came to mind, I knew it was perfect. I used my Cricut to cut out the letters and numbers and used them as stencils. My husband put the picture hangers on the back. We hung this in our three seasons porch and I love it!

Easy and cheap DIY project!!


Thursday, March 15, 2012

DIY - Creative Ways to Turn Your Drab Laundry Room into a Functional Craft Area


Our laundry room, was your typical, drab, dark laundry room. It was the only space that we had for a crafting/work area for me in the house. So, I decided I needed to transform the space to make it functional and fabulous! Like always, I didn't want to spend tons of money, so I knew I would have to come up with some creative ideas for storage and style. I also knew I wanted to brighten the place up. The first thing we did was paint all the brick walls and surrounding walls a bright white. This alone made the space so much more brighter! I knew I wanted open shelving so that I am able to see what I have. So, all my husband did was cut down some 1x8's to fit the length of the wall and hung them up. My parents had a corner desk that fit perfect down there and didn't take up too much space.


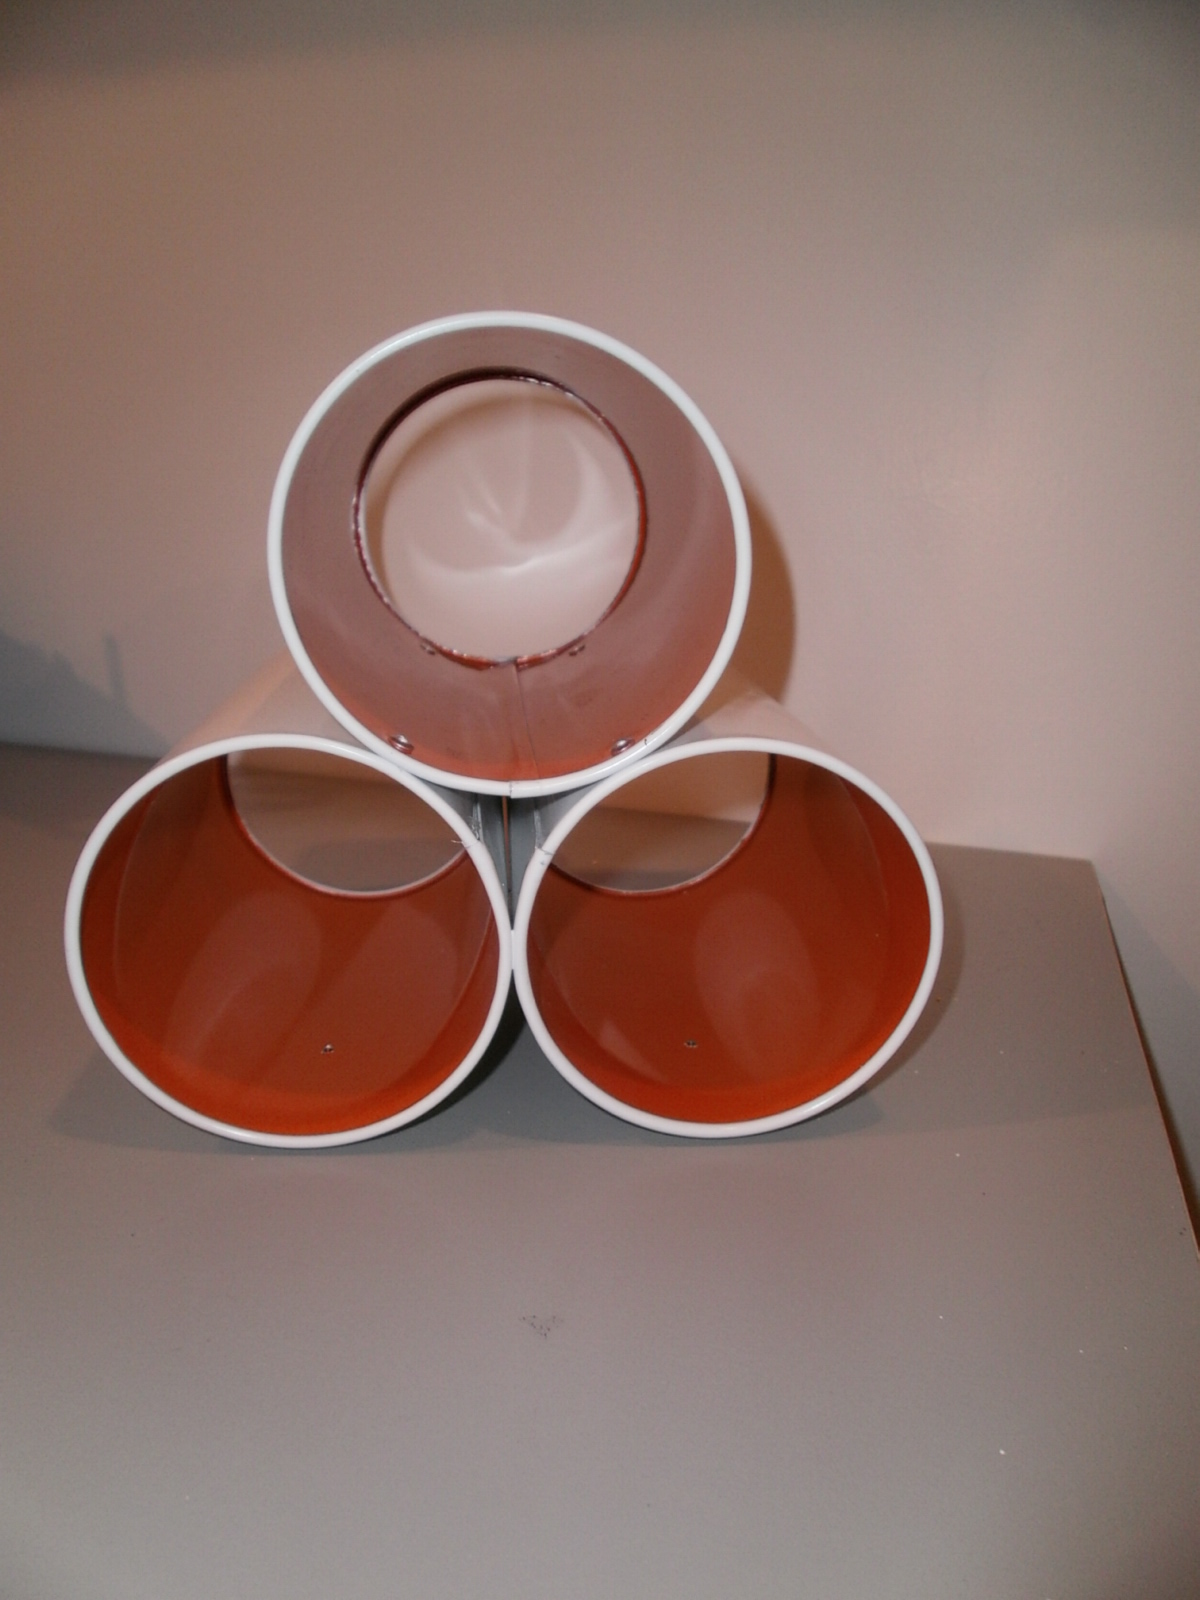
I wanted to find something that I could hang on the wall that would house all of my "utensils" (markers, scissors, pencils, etc). I found these wine holders on clearance at Target for about $3 each. I picked up 4 of them. I pictured them mounted on the wall instead of holding wine. I brought them home and my husband was able to screw them underneath the shelves he had put up for me.


I think they came out perfect!!!! All of my "utensils" fit in them and they aren't taking up space on the desk, which gives me even more room to spread out and be creative!!


Another thing I really wanted, was a place (that was out of the way) to house all my wrapping paper, contact paper and ribbon. My husband made this brilliant wall hanging (he saw something similar on Pinterest). He was able to use up some extra wood we had to make the frame and then we bought the wood dowels. I was thrilled when I saw this! I can now just pull out the ribbon I need, cut it and be done! I love all this stuff up and out of the way!


The finished space is so much more open, light and airy. There is more space for everything and I can see what I have. It has made a tremendous difference in that back room and I love it even more to know that we didn't spend a lot of money to do it. A little planning and creativity and I believe you can have most anything without breaking the bank!!!


Easy St. Patrick's Day Gifts for Classmates


I came up with a fun, easy and inexpensive little treat for my daughter and son to hand out to their classmates at school for St. Patrick's Day. I bought 2 big boxes of Fruit Roll Ups (Fruit by the Foot). Their package was green so it was perfect! I typed up a message (in green ink) that read: "I am LUCKY to roll with you!" "Happy St. Patrick's Day!"


I cut out the messages, rolled them around the Fruit Roll Ups and secured with tape!