Monday, December 10, 2012
Homemade Burlap Stocking
I love the look of the old, rustic, cottage decor and I don't find a lot of it where I live. Sometimes when I get inspired, I try to see if I can do it myself! So, I wanted some cottage looking stockings and decided to make some. I had some burlap (love the look of this stuff!!!) and some yarn. I cut out the shape and then stitched it together using yarn. I put this in my Etsy shop as well! Check it out!https://www.etsy.com/listing/117747355/homemade-burlap-stocking


Homemade Vintage Wood Spool Garland
I have had these old, wooden spools for awhile now. I love the look of them and just wanted to wait to find the right thing to do with them! Then, Christmas decorating started and I became inspired! I started threading them on some heavy twine and voila..... a rustic/cottage looking garland! I put it in my Etsy shop. Check it out! https://www.etsy.com/listing/117746927/homemade-old-wood-spool-garland-1020
Monday, December 3, 2012
7 Year Old's "Painting" Birthday Party Ideas
My daughter is turning 7 at the end of this month. She is such a "crafty" little girl and loves anything that has to do with being creative. So, we are going to have her party at our local pottery store. The kids can paint a piece of clay and then they will get fired. For her invitation, we had to come up with something "creative" so we saw a picture online and came up with this:
I planned this party for 1.5 hours. I didn't know how long the girls would paint and I didn't want a lot of "extra" time because they couldn't really play in the pottery place. The girls painted for almost the entire time. We handed out some snacks and then cupcakes towards the end and Gabrielle was still opening presents when parents arrived to pick up! All in all it was a successful party and one that Gabrielle was happy with!
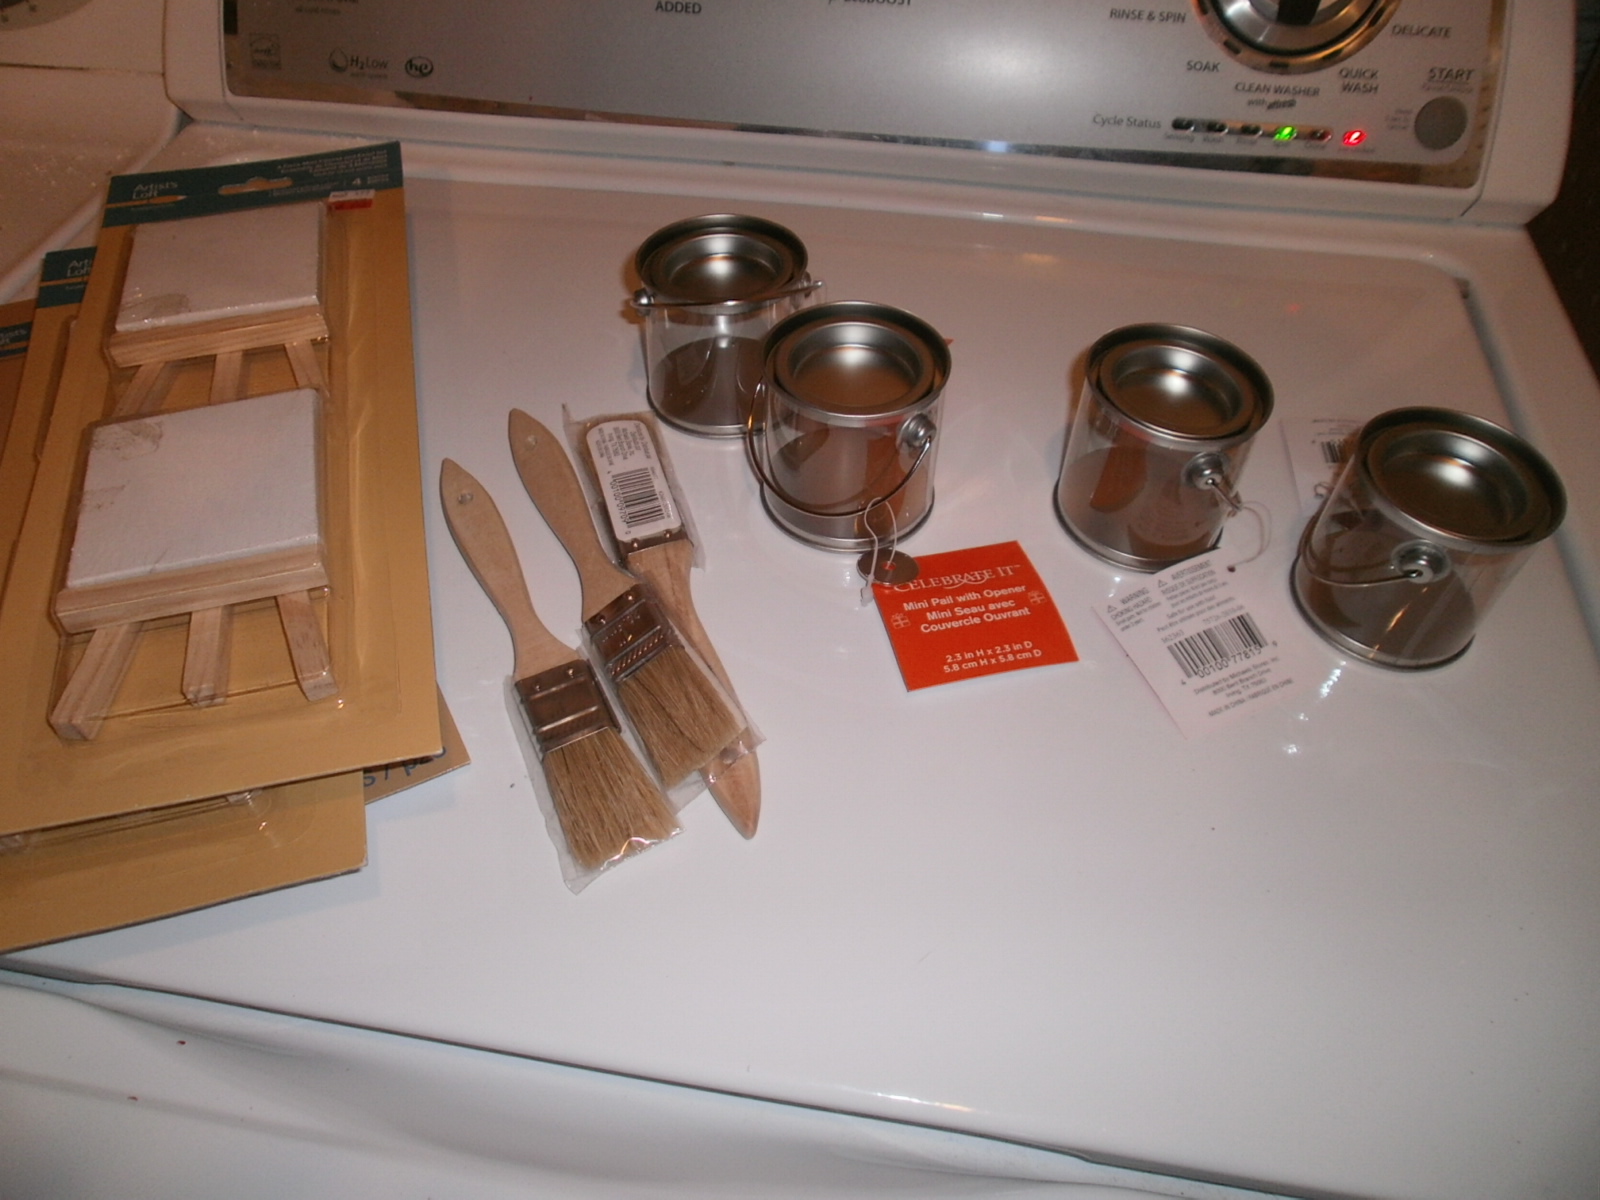 |
| We went to Michaels and found the paint cans, brushes and easels. |
 |
| The easels were a clearance score! I thought they would be cute place cards on the table with the girls' names on them. |
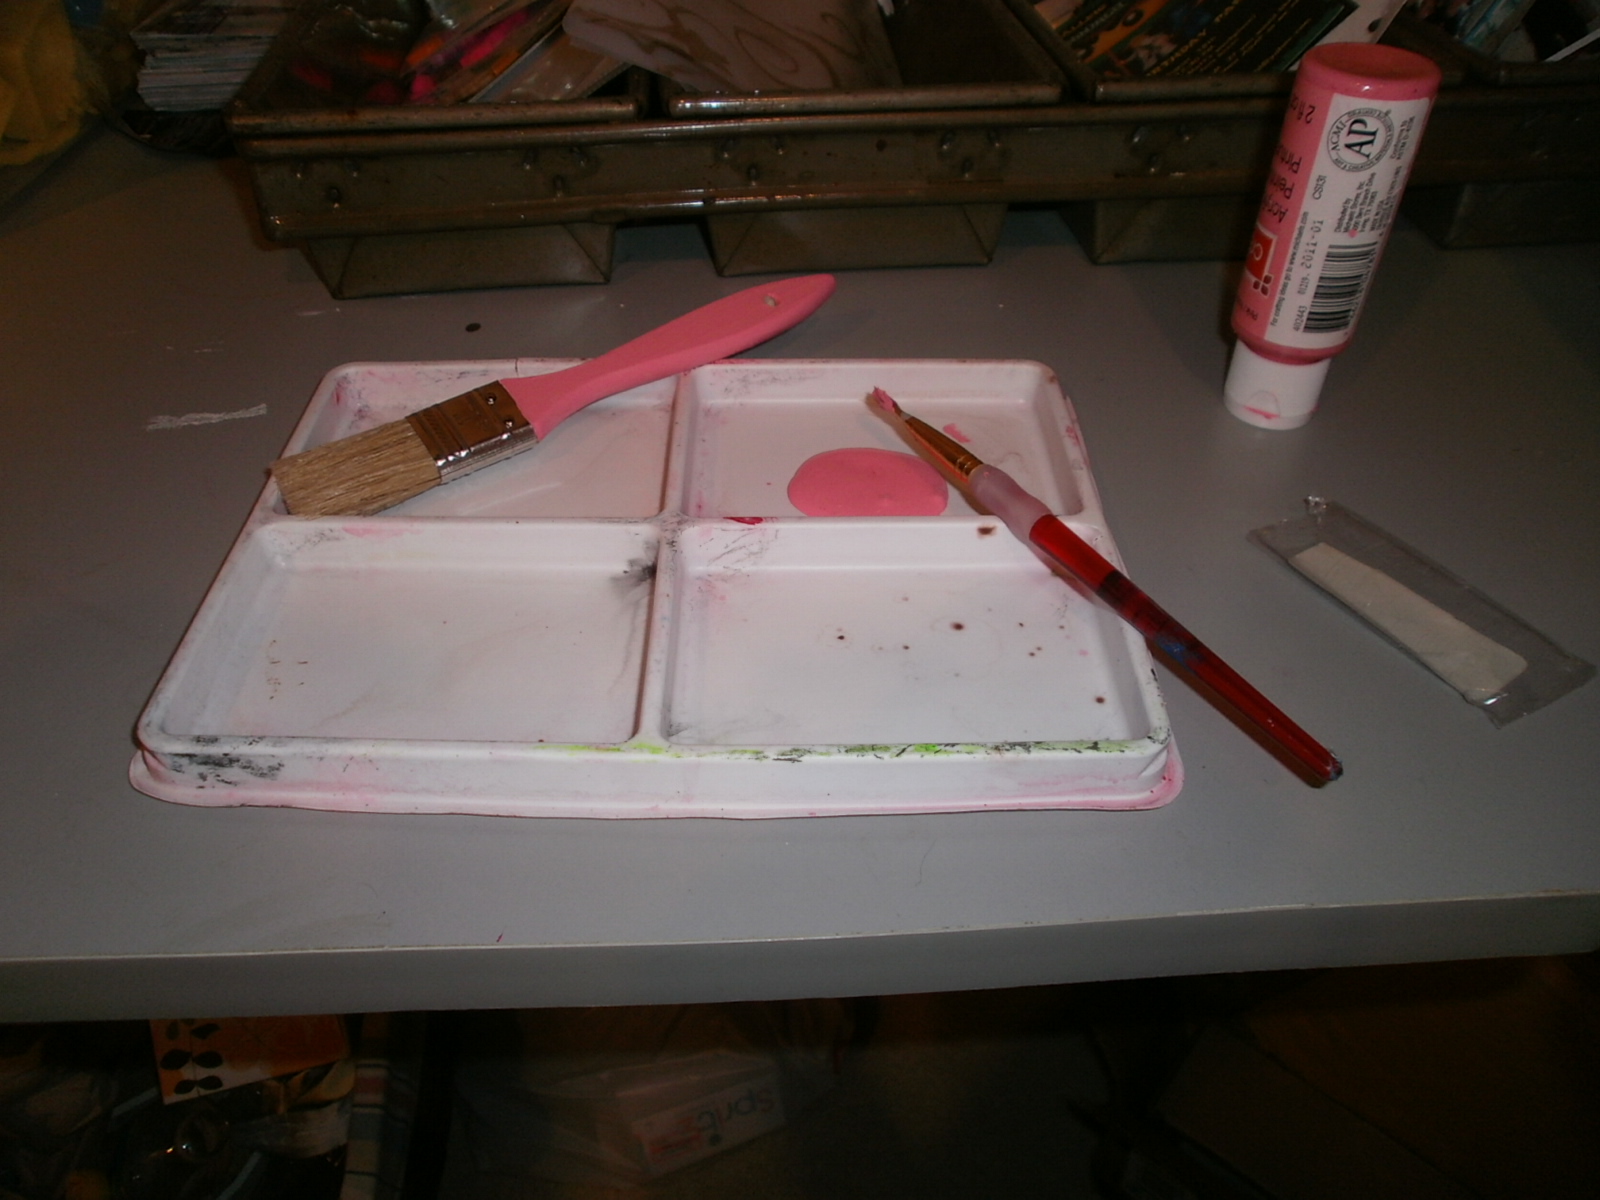 |
| We painted the wood paint brushes pink. |
 |
| We dipped the ends of the paint brushes in the paint as well and let them dry. |
 |
| My husband printed off these invites which look like paint swatches! It has the details of the party typed in each color. They read: "Purple, pink, orange and blue. Gabrielle wants to paint with you! It's Gabrielle's 7th birthday!" Then date, time, location, etc. |
 |
| I added pink paper to the inside of each paint can. |
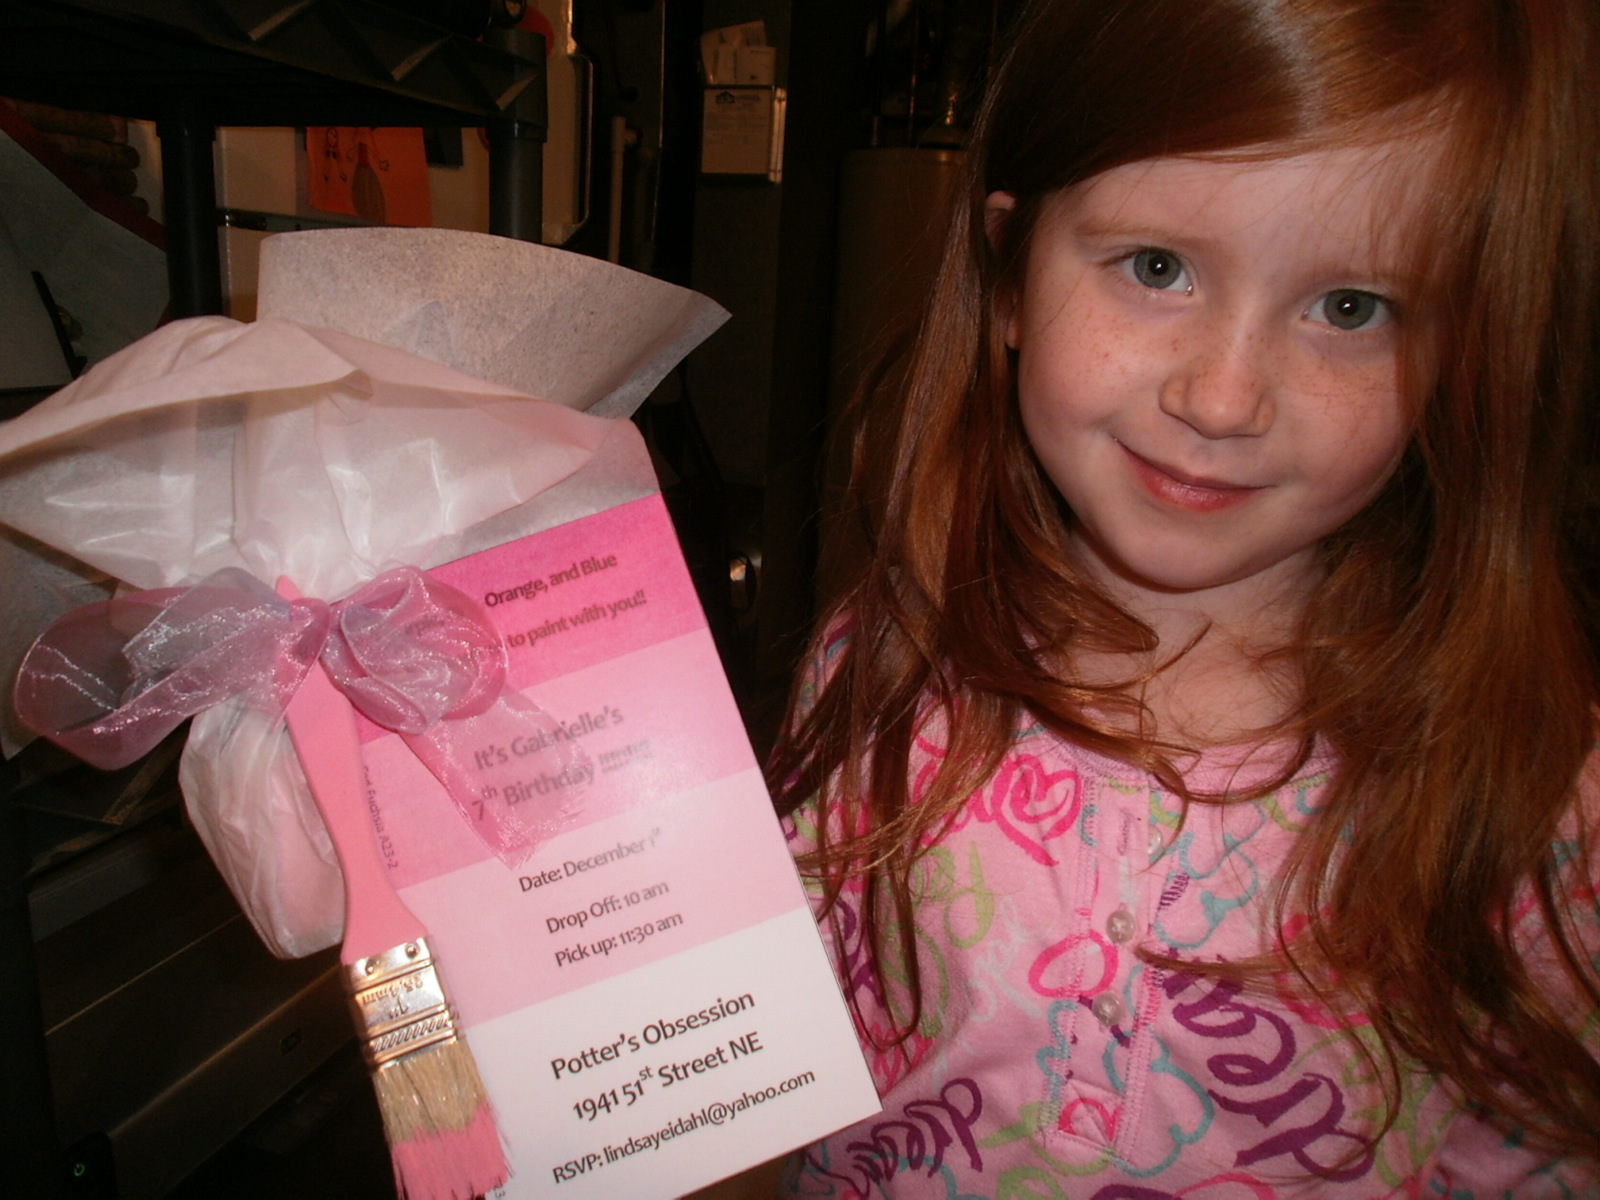 |
| We added M&M's to the paint can and then wrapped it up in tissue paper. We tied them up with a ribbon and added the brush and paint swatch to the outside! Cute!
Instead of a cake, I saw an idea once for cupcakes being paints. So, I had my husband cut out a painter's "pallet" out of wood and I painted it brown.

|
 |
| I then just made cupcakes and frosted them different "paint colors" and set them around the pallet! I think it turned out cute and it was so easy. Very easy to transport to the pottery place too! |
 |
| This is how the easels turned out. I painted their names on them and hot glued little plastic flowers on them. These acted as their place markers at the pottery place. |
I planned this party for 1.5 hours. I didn't know how long the girls would paint and I didn't want a lot of "extra" time because they couldn't really play in the pottery place. The girls painted for almost the entire time. We handed out some snacks and then cupcakes towards the end and Gabrielle was still opening presents when parents arrived to pick up! All in all it was a successful party and one that Gabrielle was happy with!
DIY Cabinet Redo -

Easy Santa Ornament Craft for Kids

I bought clear glass ornaments because the ideas and crafts you can do with them is ENDLESS! For this craft, I took the hanger off the top of the ornament and had the kids fill it with white beads (this would be Santa's beard). Then, I had them roll a small, square piece of red felt and we glued it so it would hold together (this is his hat). Then, I had them glue a white pom pom on the top of the hat. We glued googly eyes on the face and then I added the mouth, nose and rosy cheeks! Add a hook on the top (or a bent paper clip) and you have a cute ornament for the tree!
HO! HO! HO!
Merry Christmas!
Thursday, November 15, 2012
My Latest DIY Projects!~
I was heading to Target last week after I dropped the kids off at school and I ran into an estate sale! SCORE! I bought these three pieces and I am excited to start working on them. The pink "cabinet" piece has a drawer and the bottom door opens from the latch - down forward (if that makes sense)!!! It was such an interesting piece! The guys having the sale, told me that they were all in their grandmothers home so I know they are old! I love finding interesting pieces that are unique and not like other pieces around! LOVE THAT! Stay tuned and I will post pictures after I am done with them!


Wednesday, November 14, 2012
Kids Turkey Trivet Craft for Thanksgiving Table
We had white tiles left over and I knew I could come up with some creative way to use them. Since it is "turkey time", I thought it would be cute to have the kids make trivets for their Thanksgiving table this year! I painted the kid's hands and fingers different colors (dark brown for body and neck and then different colors on the fingers for the feathers). We put the hand print on the tile and I added feet, eyes, beak and the "gobble, gobble" (I never know what that thing is called). I used craft paint for this project so it would stick on the tile. I used some puffy paint for the eyes, beak, gobble and feet. When they were all dry, I took Elmers glue and painted the entire tile. This added a "protective" coat so hopefully the tiles will hold up over the years. On the back, I hot glued a piece of felt.


HAPPY THANKSGIVING!!
Subscribe to:
Posts (Atom)