I came up with a cute little math activity to do with the kiddos today. It is perfect for a spring and/or Easter theme! Great for this time of year!
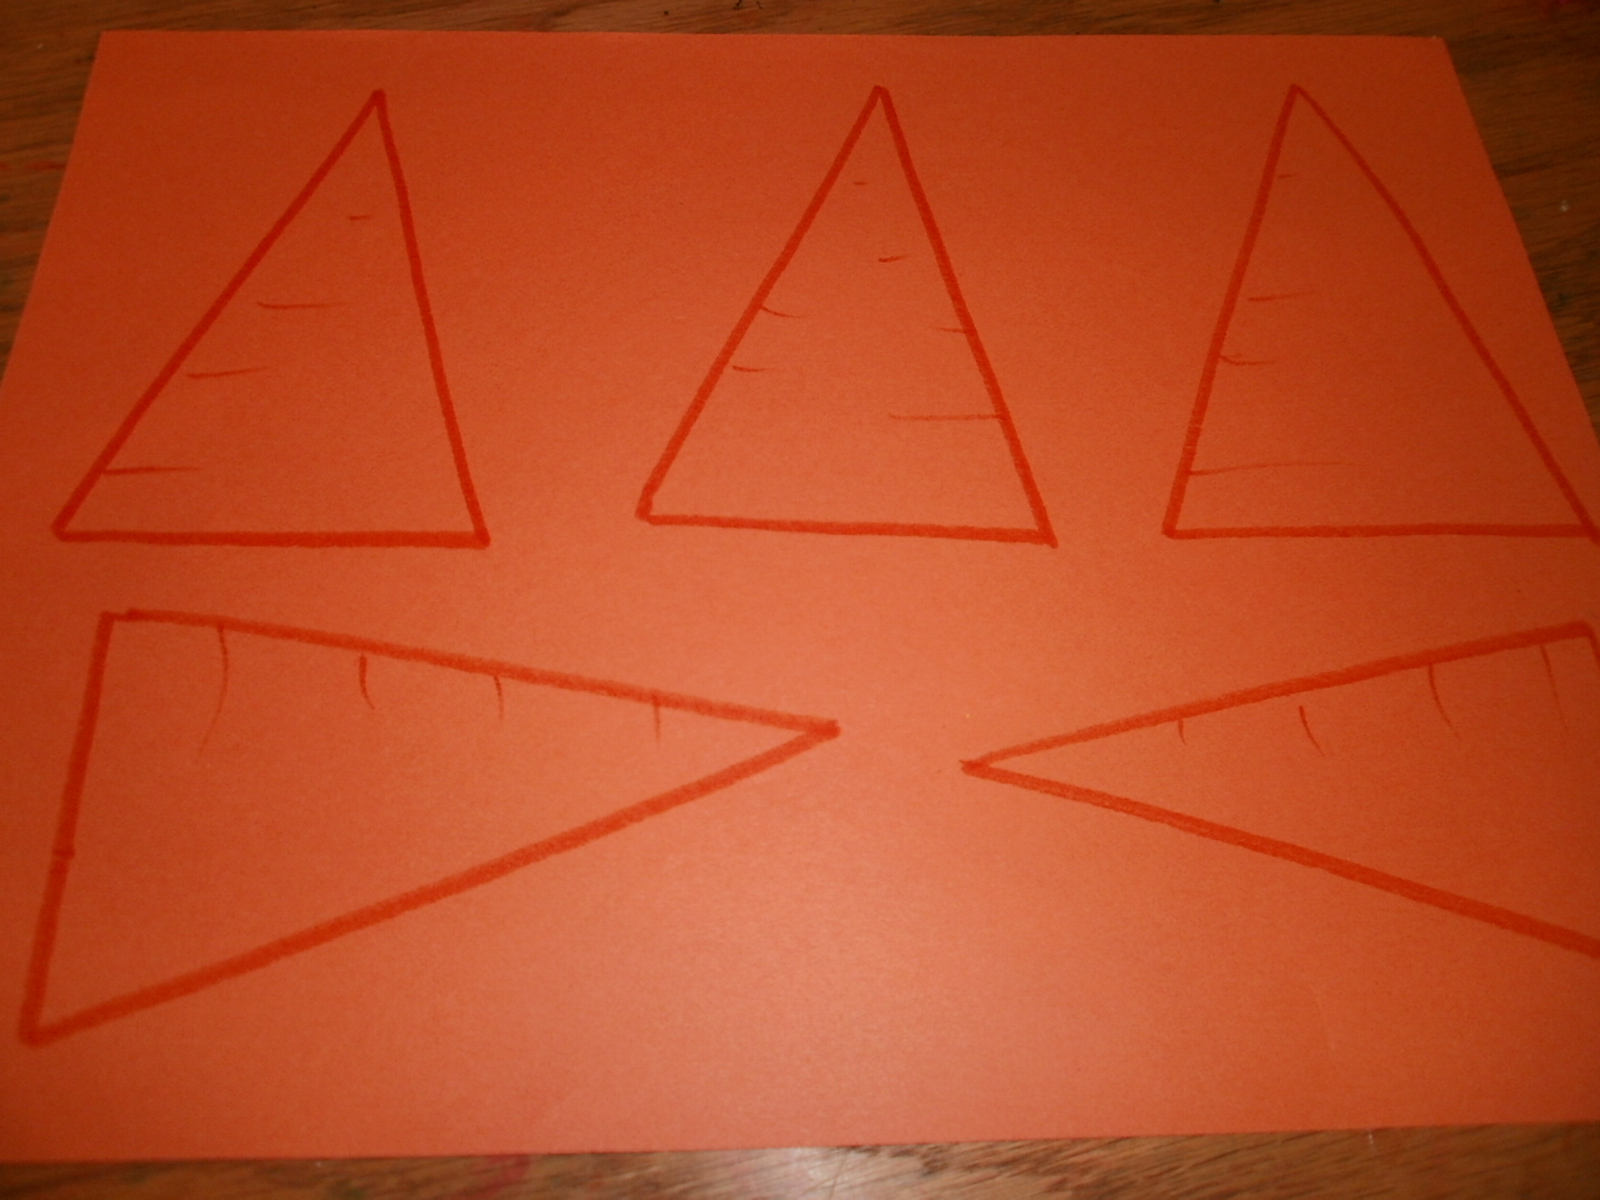
The first thing I did was draw 5 triangles on orange paper and added some lines on them to make them look like carrots. I had the kids cut out the triangles (working on cutting skills and shape recognition here). When they were cut out, I wrote the numbers 1-5 on the carrots. Next, I gave the kids a piece of white paper and had them color it with a brown crayon. This was our "dirt" for the carrot patch. Then, I had the kids glue the carrots in numerical order on the "dirt patch". They made need some help with this part (at the point, they are learning number recognition and numerical order). While they were gluing on the carrots, I cut out "carrot tops" from green foam (you could use ribbon, green paper, scrapbook paper, whatever you have). Now, to plant or carrot patch, we had to look at each carrot's number and glue that many "carrot tops" on it (this is great for counting). In the end, we had a flourishing carrot patch!
Here are some pictures to show you what we did:
Now that is how you grow a carrot garden!!!